

As parents, we want to give the best of everything to our little babies. And honestly, everything they sell to parents makes sense. But sometimes, we don’t need all of those things.
One of them is a diaper changing table.
A diaper changing table will be a great savior as it is specially designed so that the caregiver can change diapers at a comfortable height. It helps to prevent the back pain that almost all mamas experience.
Yet those changing tables may take up a lot of space, and many parents do not have a spacious nursery to accommodate. Why don’t you combine your dresser with a changing pad? Yes, that’s it: everything in just one piece of furniture!
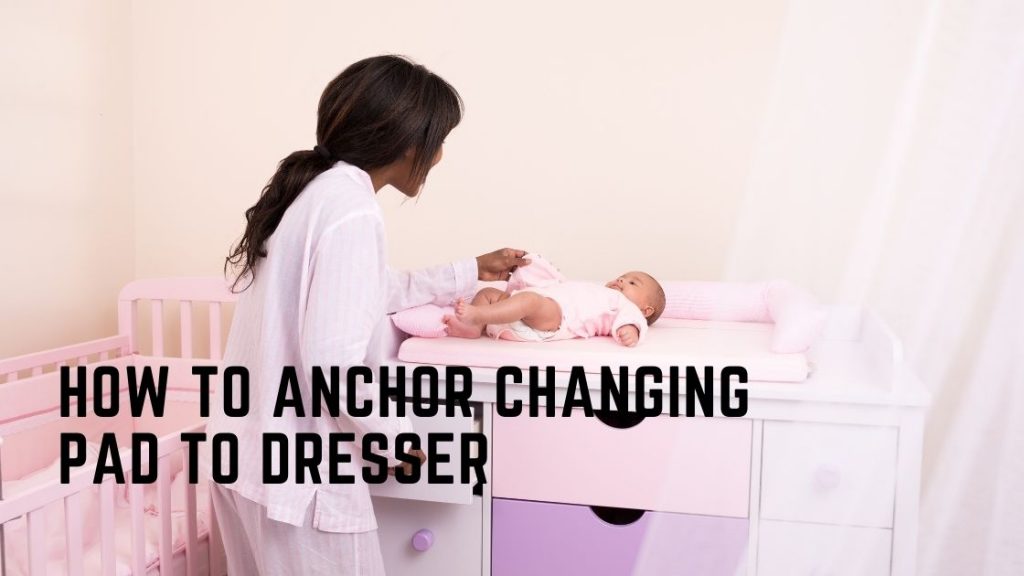
Read on to learn more about how to anchor changing pad to dresser to make your own DIY changing table, and get down to doing it right away!
How to anchor changing pad to dresser: why even bother?

Changing diapers for your young babies is an essential part of parenting. Infants may need diaper changes more than twelve times a day to keep them clean, and this number can even escalate.
A changing table will assist you greatly in that process. With a changing table by your side, there will never be the prospect of whining for back pain when you have to bend over an uncomfortable angle to change a diaper.
Most changing tables come with racks for diapers, towels, powder, and other items your lovely baby needs throughout his or her infancy. But imagine, once your child grows up and diapers become unnecessary, you will leave behind a pile of furniture that, apart from taking over your room, is no longer of any other use.
But it would be a different story if you combine your dresser with a changing pad. As your child grows older, you can take advantage of that dresser for other storage purposes.
How To Anchor Changing Pad To Dresser?
How to attach a changing pad to the dresser? Is it a hard task to do? The answer is No. Here are some notes to help you along the way.
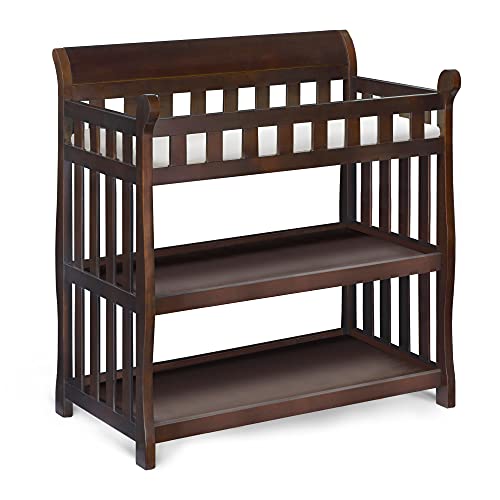
Check your dresser: the height and top
The choice of dressers depends on each person’s preferences. However, you need to follow some standards to get the most out of the process. Ideally, 33 to 41 inches high is the maximum height of changing tables, and you should choose a dresser that is within this range. This height makes it possible for you to stand comfortably, and the baby is still within your reach.
When it comes to the top of the dresser, make sure that it is large enough to accommodate a changing pad and there is no pad hanging over the edge.
Find a changing pad that fits
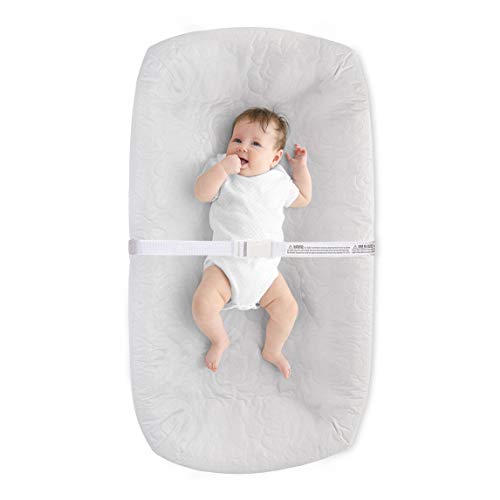
The job you need to do now is to buy a changing pad that fits completely on top of the dresser.
In that case, a vinyl-implicated pad is highly recommended as it can ensure the safety of your baby.
However, you should keep in mind that this pad may or may not have restrainable covers. We suggest you buy a pad with a restraint strap as it will o securely hold your baby in place.
Anchor the changing pad to the dresser
Velcro
Are you looking for a simple yet effective way to anchor a dressing pad to the top of your wardrobe? Velcro will save your neck!
Velcro is an effective binder that works by being very specific. It features a couple of strips of material. On the one strip, there are tons of tiny hooks, while millions of thinner loops are available on the other. The hooks will cling to the loops when we press them together.
This mechanism will help avoid slipping while you are changing diapers. However, the kind of Velcro that you need to use to attach the pads to your dress is not the usual one. To ensure absolute safety for children, large-scale Velcro pieces are more favorably used. You can find them at apparel supply stores or any other eCommerce platform.
Now let’s get down to the process. Separate the pieces and attach one side to each of the four corners of the top of your dresser. After that, paste the remaining sides into the four corners of the changing pad. And the final task is simply to Generic Kaufen Apotheke mount the sides up for the Velcro to stick together, and your changing pad will be held in place on top of the dresser.
Straps
Don’t you know that conventional changing tables often include straps that can hold your baby in place? These straps come with the purpose of protecting your child and preventing him from falling while you are changing his diaper.
We recommend you Kolpak Changing Station Straps to use in that case, or you can buy any other type of straps as long as they suit your preferences and safety demands. They are available at a baby supply or home goods store, so just come pick one to bring home.
Now, you need to crew the end of one into the dresser’s onwards. And just like that, the other needs to be screwed into the back. Next, pull up the straps and place them on the flat side of the dresser. What you should do now is place the pad on top and cross the straps over, tying them to the center of the pad. Make sure you buckle them well, as this action will ensure that the pad is kept in place, no matter if you use it or not.
Non-Skid Mats

A non-skid mat? Why not? This tool usually works well in preventing rugs from slipping on floors. So why don’t you take advantage of it to adhere a changing pad to a dresser? Believe us; this is not a crazy idea!
The process of using the non-skid mat, in this case, is effortless. You just need to reap it to make sure it appropriately fits the dresser and pad. After that, adhere the mat to the pitch of the dresser.
Then, place the changing pad to the top of the non-skid mat to keep it fixed during the diaper-changing process. Moreover, this also helps prevent it from being thrown or pulled.
There are tons of no-skid mats on the market, which come in many sizes and colors.
Sticky Changing Pads
Unbelievable as it might sound, some kinds of changing pads inherently have the sticky feature on the bottom. Yes, it’s true! This feature even makes it more effortless for you to anchor the pad to your dresser.
To attach it, you’ll need to remove a plastic coating underneath, from which the adhesive part can be exposed. Then, gently press the bottom of the changing pad to the top of the dresser. However, we have to say that this sticky remnant may loosen, so be on maximum vigilance if the change pad starts to move. It can also affect the dresser’s aesthetics when you take off the changing pad.
Some Safety Notes
Anchoring the changing pad to your dresser to form a changing table is a nice idea, but it would turn out to be a nightmare if you don’t comply with some safety notes. No one wants themselves and their babies to be greatly affected just by some carelessness during the installation, right?
Here are some safety precautions for you to follow:
- Go for diaper changing pads that have two different types of straps for the best protection. We highly recommend you choose an adjustable restraint belt with a buckle as it can perfectly ensure your baby’s safety.
- A changing pad needs a waterproof surface that can be easily wiped clean. Absorbent pads can lead to mold. For more protection, don’t hesitate to use reusable waterproof pads that add a soft, cozy feel and can be put in washing machines and dryers.
- Again, if you use l Velcro, make sure you choose the large-scale one as the normal Velcro can not get the job done well.
Conclusion
Now you know how to anchor changing pad to dresser. The diaper changing table is such a fantastic sidekick for parents in the diaper-changing process, and it can even be more wonderful when you can integrate a changing table and a dresser in just one piece of furniture.
Just follow our instructions, and we are sure that you can do it with little to no effort. Don’t forget to abide by the safety notes!